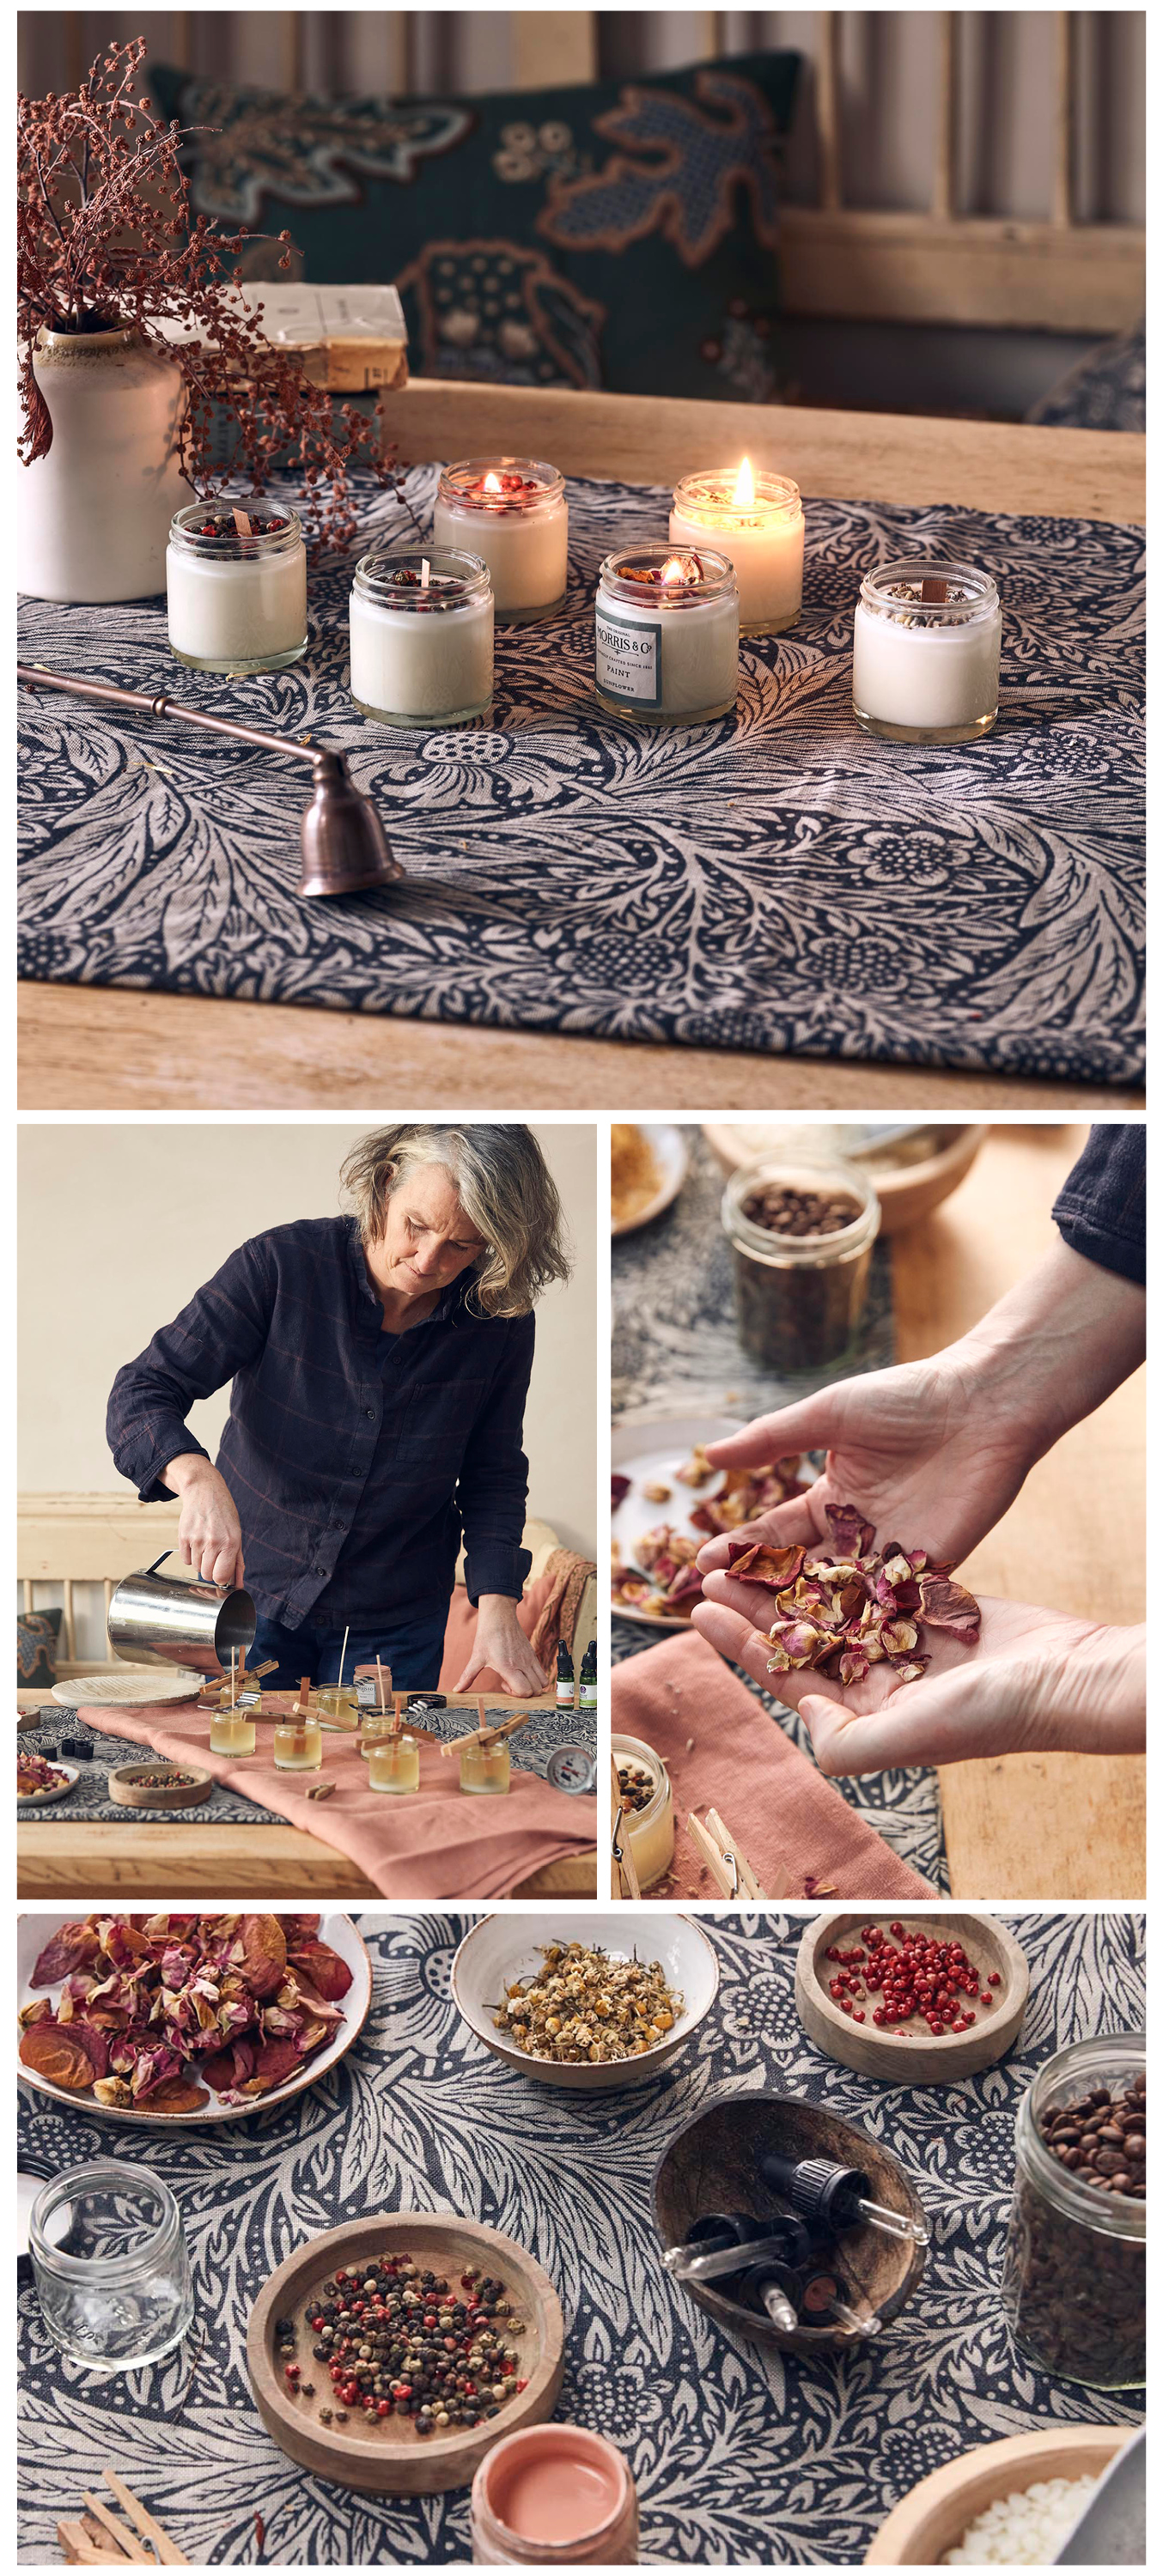
Craft Your Own Candle

a step-by-step guide
Reclaim your Morris & Co. sample paint pots with our handy guide to candle-making success. Perfect for whiling away a Sunday afternoon or a rainy day, this is a rewarding step-by-step guide for making delightful candles to brighten your home.
INGREDIENTS
350g of Eco soy container wax
50ml Essential Oils
5 Wicks (wooden crackle or non-bleached waxed)
10 Glass Morris Paint sample pots
2 Stick-ums
TOOLS
1 Wooden stirrer
2 Wooden clothes pegs
1 Metal centralising tool
1 Metal heating jug
Pan and water to melt the wax in
Food thermometer & cooking scales
1 - WEIGHING THE WAX
Open your bag of soy wax and weigh out the quantity you would like to use. Morris glass sample jars hold 35g each. (The total amount shown in the ingredients list is for 10 Morris glass sample jars.)
2 - MELTING THE WAX
Fill a pan of water (approx 1/4 full) and place onto a heat source. Pour the weighed wax into your metal heating jug, adding the pegs to the sides to stop it from falling in the water. Place your jug into the pan of water and bain-marie for 25 minutes. Gently heat your wax up to 80°C using your thermometer, whilst stirring gently. Take care not to exceed 82°C.
3 - PREPARING THE WICKS
Place a stick-um sticker on the bottom of the long wick’s metal sustainer (the metal disk at the base), then unpeel the other side and place in the middle of the base of your glass pot. Alternatively, carefully dip the wick into the molten wax and place the wick firmly in the centre of your glass pot. Ensure your wicks are tightly set and stay upright by using your metal centralising tool, simply thread the wick through the middle hole.
4 - TEMPERATURE
To check that the wax is fully melted, take your jug out of the pan and turn off the heat source. Place a food thermometer directly into the melted wax and allow to cool down until it reaches 60°C.
5 - ADDING FRAGRANCE
Once the wax has reached the optimum temperature of 60°C, gently pour and stir the essential oils into the wax. 8 drops for each sample glass jar should create a beautiful fragrance.
6 - POURING
Once all the ingredients are mixed, the wax should have cooled down to 50-60°C. It’s now time to pour the wax. If you notice the wax solidifying, place it back into the bain-marie on a very low temperature to bring back to liquid form. Once ready, slowly pour the molten wax from the jug into the glass pot, leaving a 2cm gap from the top. It is important to pour gently and not stir at this stage, to avoid creating air bubbles.
7 - ADORN AND EMBELLISH
Once the wax is in the pot, you can add flower petals, herbs and spices. Make sure these are not too close to the wick as they can clog up and extinguish the flame.
8 - SETTING TIME
Wax naturally shrinks when cooling. This can sometimes cause a sink hole around the wick in the centre of the candle. If you have a crack or hole, heat the top layer of the candle with a hairdryer and let it solidify again, leaving a smoother, flatter finish. This will also give your candle wax a nice glossy shine when using soy wax.
9 - CURING
Allow your candles to set over night (minimum 12 hours) without moving them. Leaving your candles to cure for 3-4 days will maximise burning time and avoid tunnelling (the quick wax melt from the middle of the candle, leaving an edge of untouched wax).
posted on 07 Dec 2022 in Interiors


